> ## Documentation Index
> Fetch the complete documentation index at: https://docs.brewit.ai/llms.txt
> Use this file to discover all available pages before exploring further.
# Connecting via SSH Tunnel
> Connect to your databases using SSH tunnel
Brewit supports SSH tunneling for the following data sources if they are hosted on a private network:
* [PostgreSQL](/docs/integrations/databases/postgres.mdx)
* [MySQL](/docs/integrations/databases/mysql.mdx)
## Getting Started with SSH Tunnels
You can configure SSH tunneling when creating a new data source or update the configuration of an existing resource.
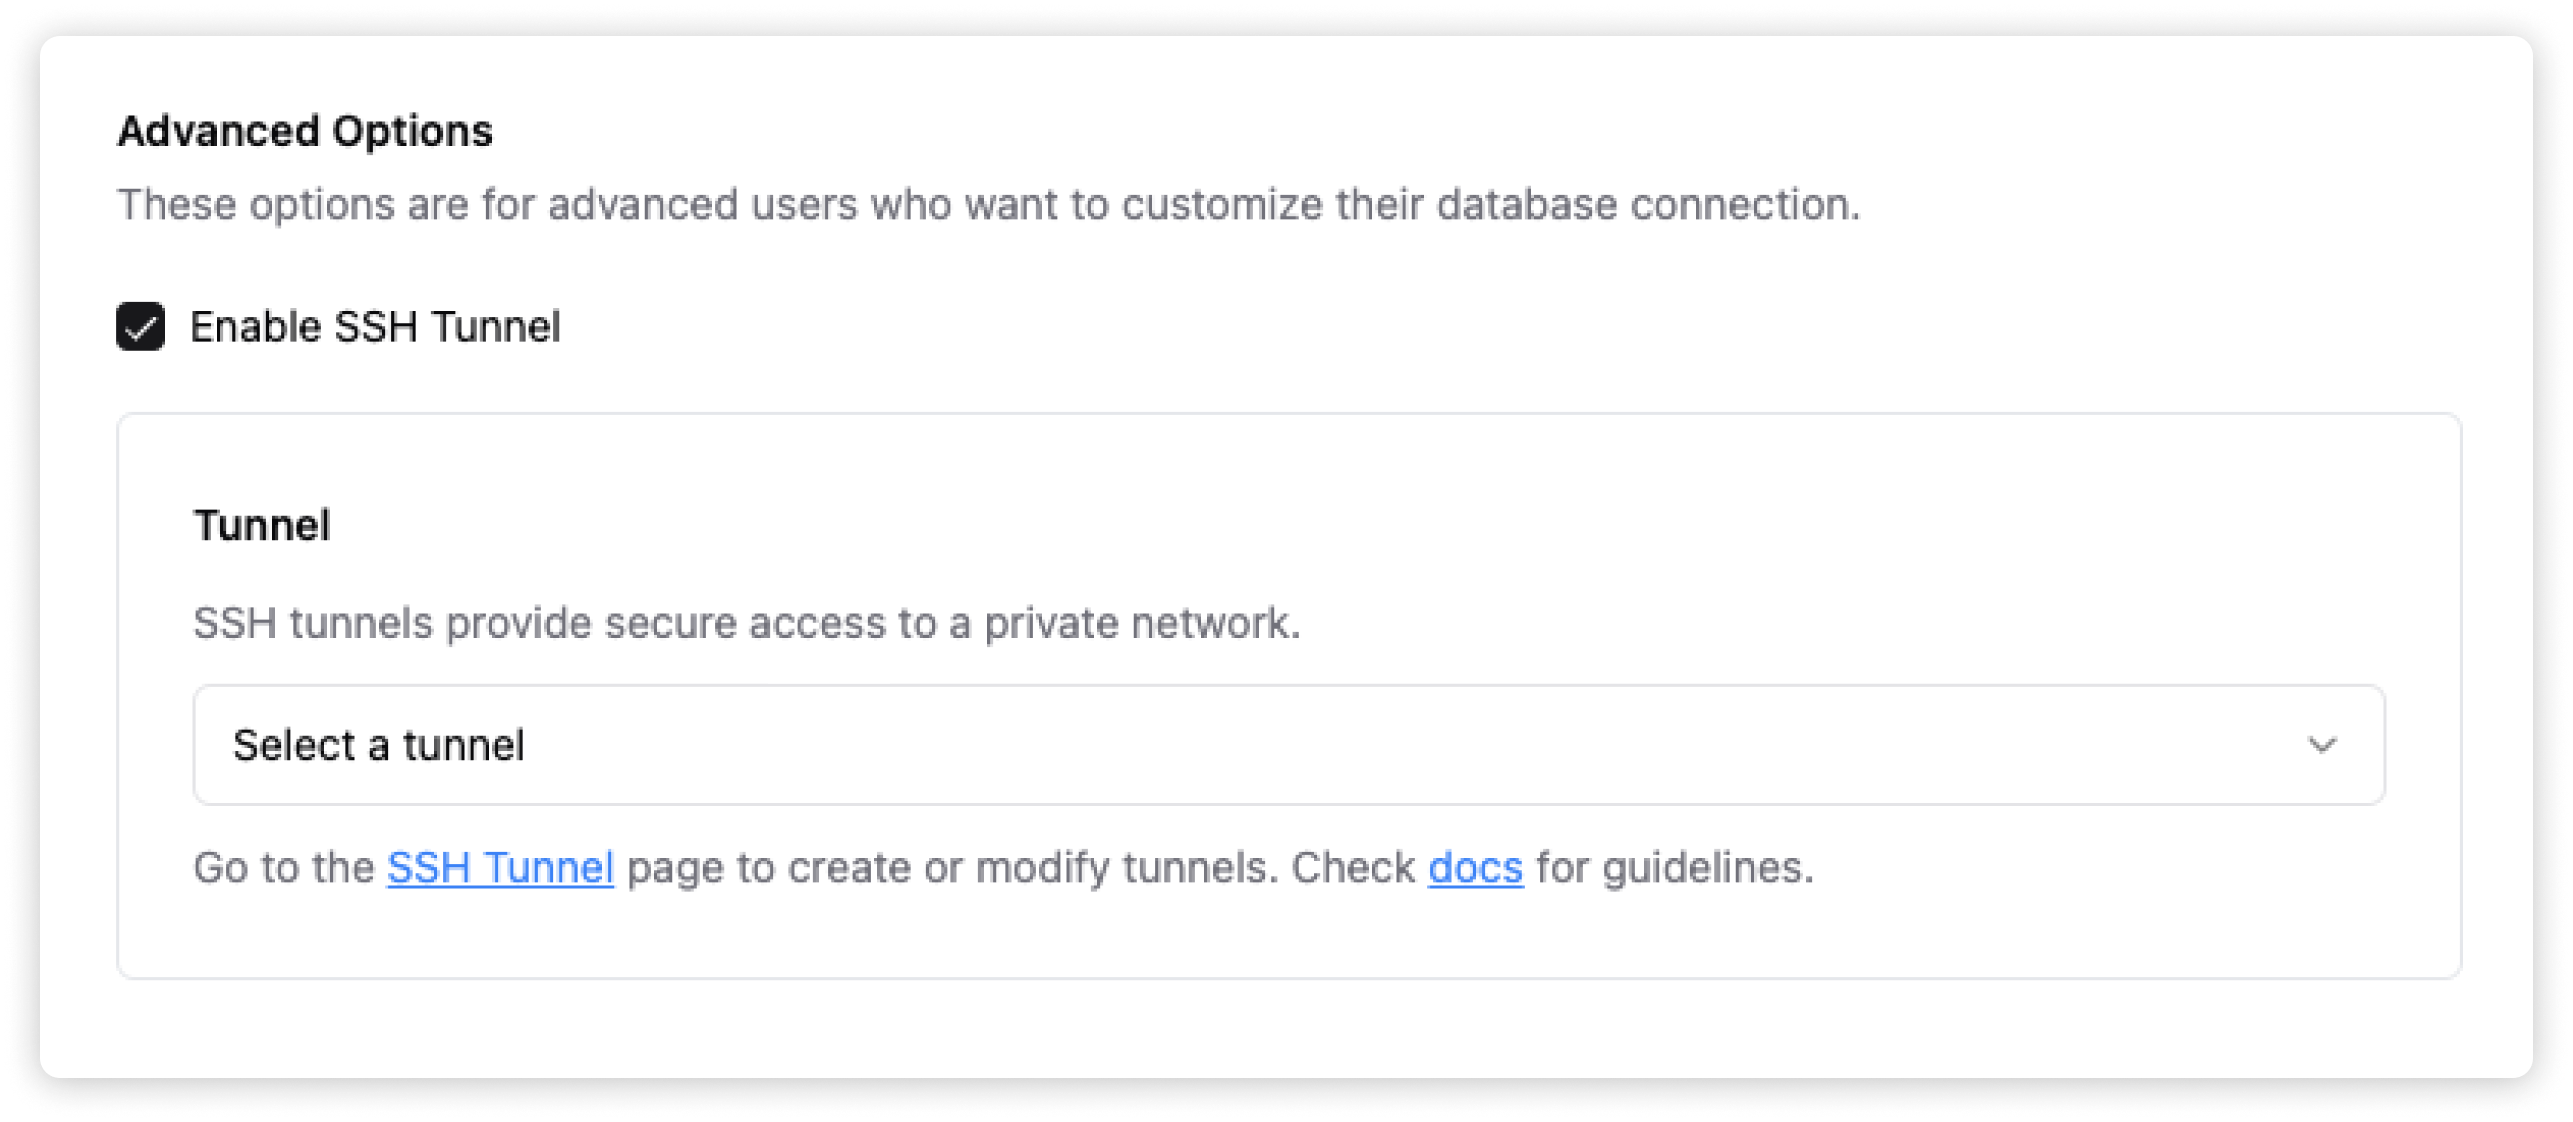 If you have an existing tunnel, select it from the dropdown. Otherwise, go
to [tunnels](https://app.brewit.ai/settings/ssh-tunnels) page create a new
tunnel.
If you have an existing tunnel, select it from the dropdown. Otherwise, go
to [tunnels](https://app.brewit.ai/settings/ssh-tunnels) page create a new
tunnel.
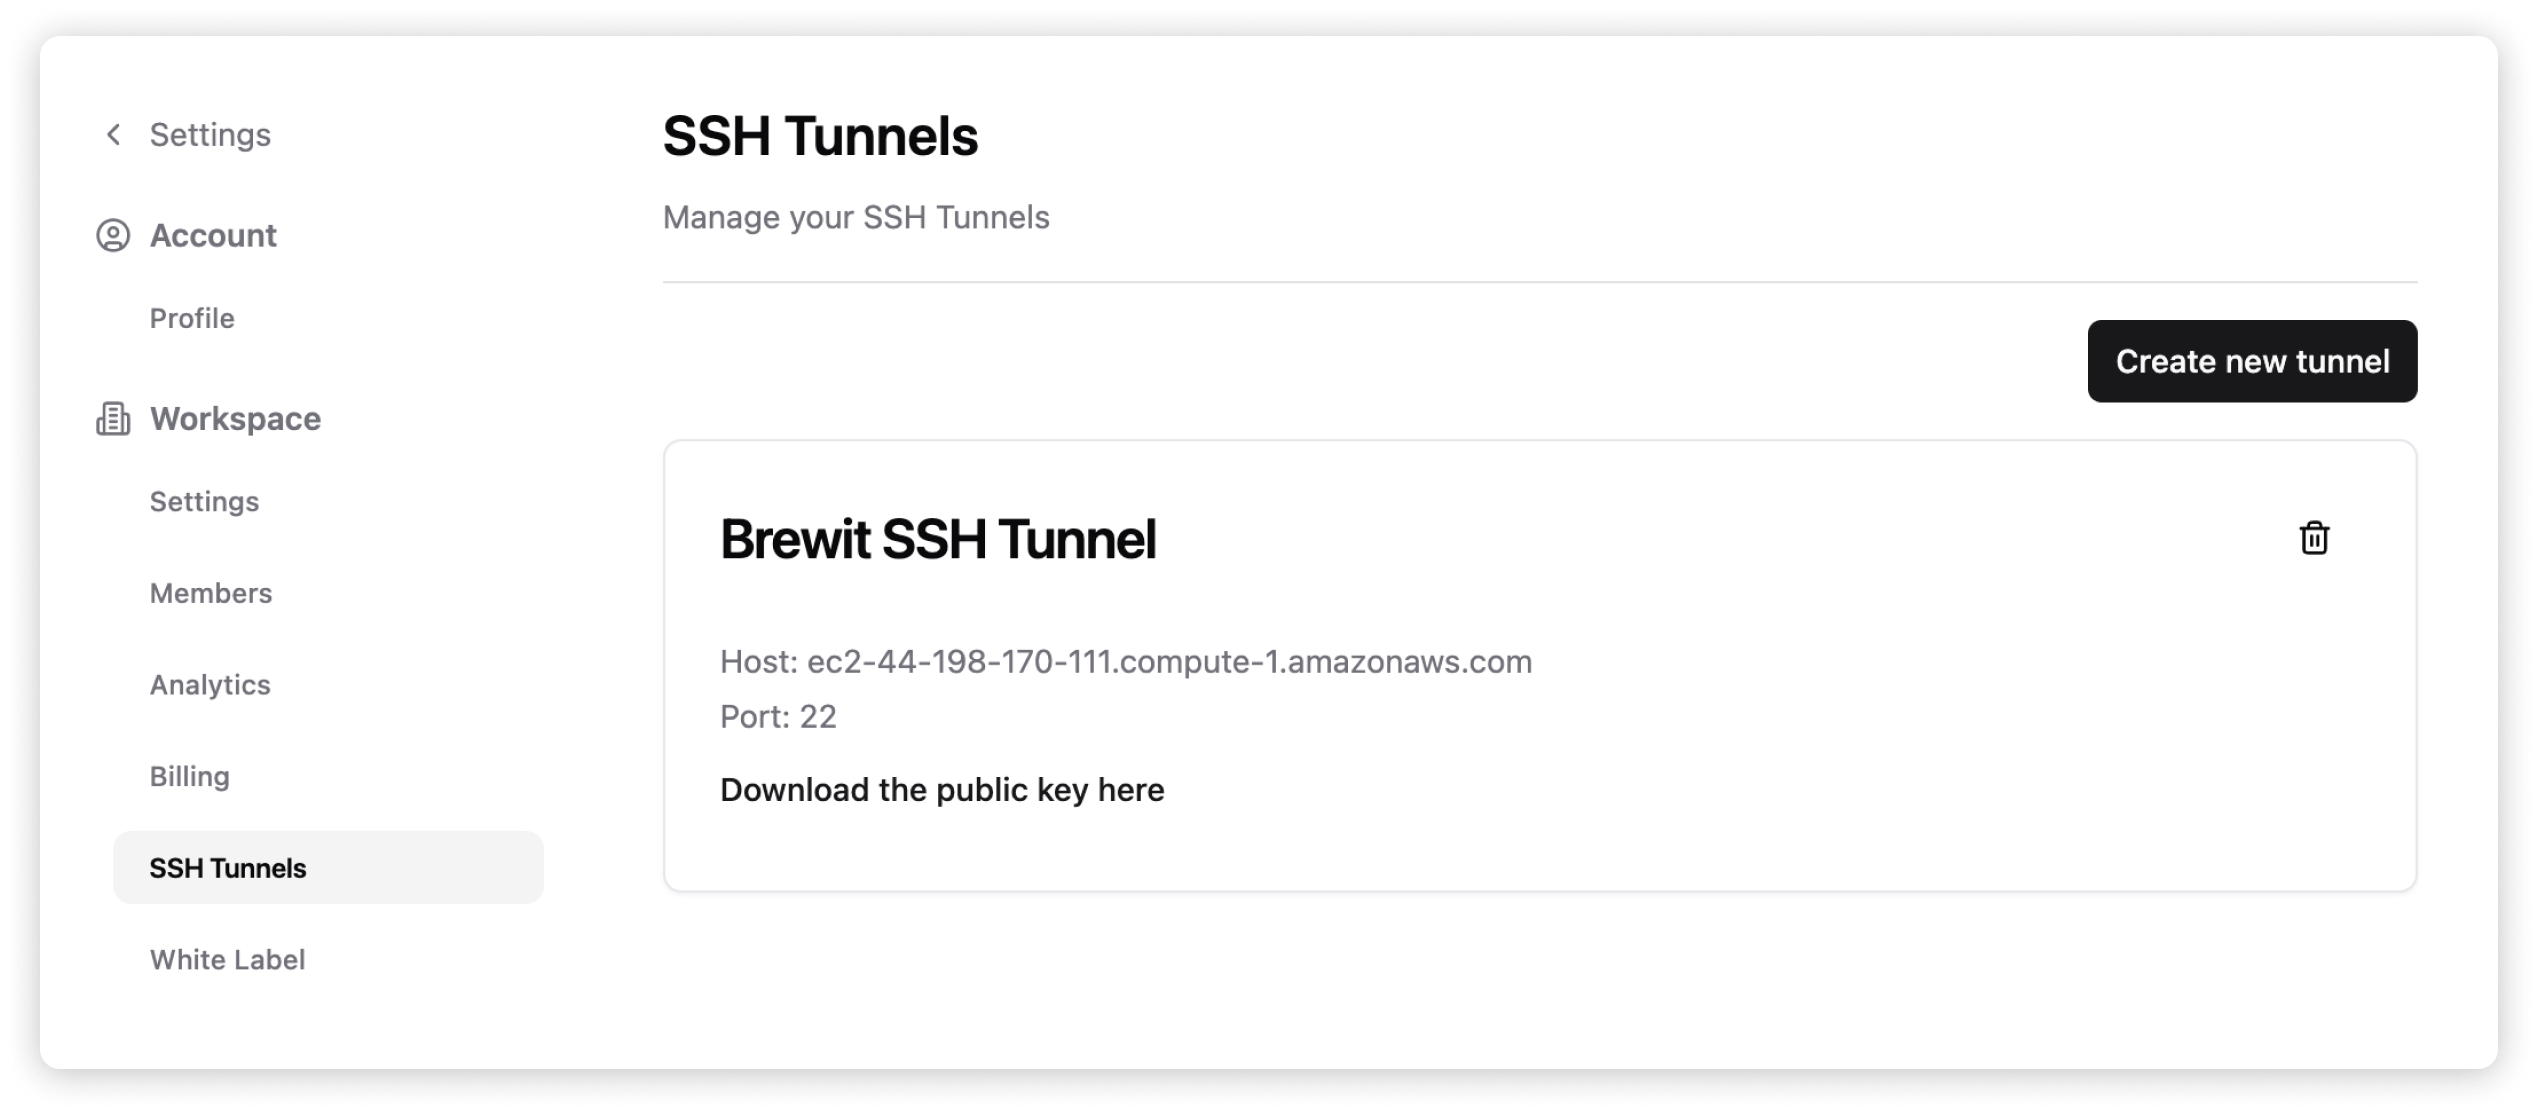 Enter the Bastion host and Bastion port with which Brewit connects, then download Brewit's public key.
Create a user account for Brewit. Below is a sample script run for different environments.
```shell Amazon Linux theme={null}
ec2-user@bastion:~$ sudo adduser brewit --password NP
```
To authorize Brewit to connect to the host, add the public keys from step two on a new line in `/home/brewit/.ssh/authorized_keys`.
```shell theme={null}
# Login as root
sudo su
# Create the authorized_keys file if it does not exist yet
mkdir -p /home/brewit/.ssh
touch /home/brewit/.ssh/authorized_keys
# Use your favorite editor to add Brewit's public key to the file
vim /home/brewit/.ssh/authorized_keys
# Set permissions on the authorized_keys file
chmod 644 /home/brewit/.ssh/authorized_keys
# Change owner of authorized_keys file to Brewit
chown brewit:brewit /home/brewit/.ssh/authorized_keys
```
Once that has been successfully configured, you can now test the connection to your database.
If you have any issues with the SSH tunnel, please contact
[mark@brewit.ai](mailto:mark@brewit.ai) for support.
Enter the Bastion host and Bastion port with which Brewit connects, then download Brewit's public key.
Create a user account for Brewit. Below is a sample script run for different environments.
```shell Amazon Linux theme={null}
ec2-user@bastion:~$ sudo adduser brewit --password NP
```
To authorize Brewit to connect to the host, add the public keys from step two on a new line in `/home/brewit/.ssh/authorized_keys`.
```shell theme={null}
# Login as root
sudo su
# Create the authorized_keys file if it does not exist yet
mkdir -p /home/brewit/.ssh
touch /home/brewit/.ssh/authorized_keys
# Use your favorite editor to add Brewit's public key to the file
vim /home/brewit/.ssh/authorized_keys
# Set permissions on the authorized_keys file
chmod 644 /home/brewit/.ssh/authorized_keys
# Change owner of authorized_keys file to Brewit
chown brewit:brewit /home/brewit/.ssh/authorized_keys
```
Once that has been successfully configured, you can now test the connection to your database.
If you have any issues with the SSH tunnel, please contact
[mark@brewit.ai](mailto:mark@brewit.ai) for support.