You can configure SSH tunneling when creating a new data source or update the configuration of an existing resource.
1
Select the Enable SSH tunnel checkbox in the Advanced Options section.
2
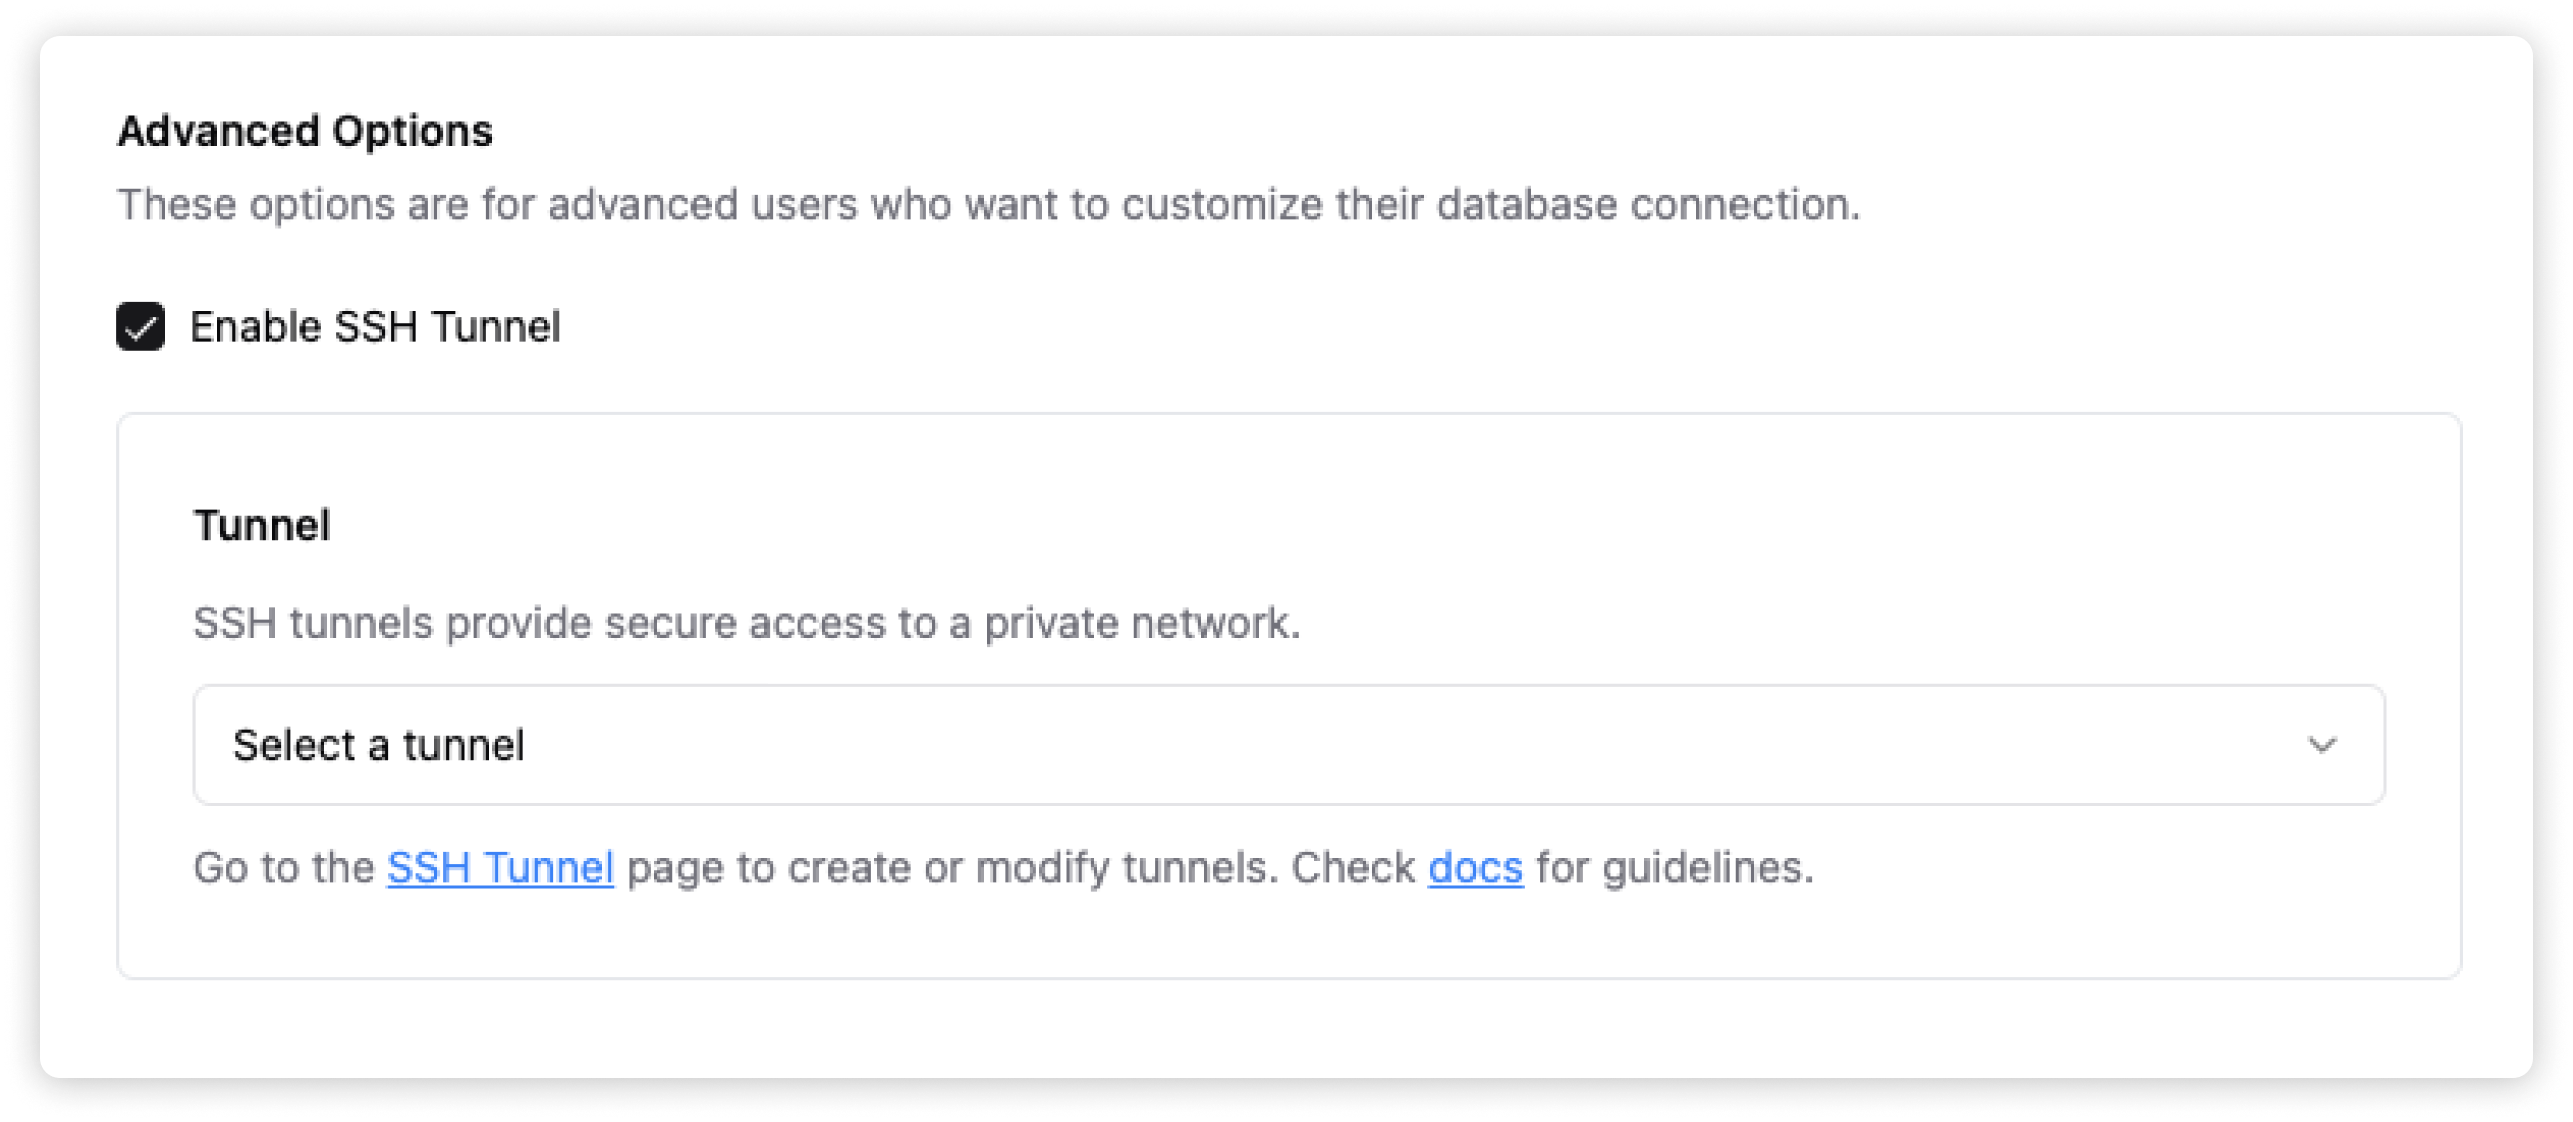
Select or create a new tunnel
If you have an existing tunnel, select it from the dropdown. Otherwise, go
to tunnels page create a new
tunnel.Enter the Bastion host and Bastion port with which Brewit connects, then download Brewit’s public key.
3
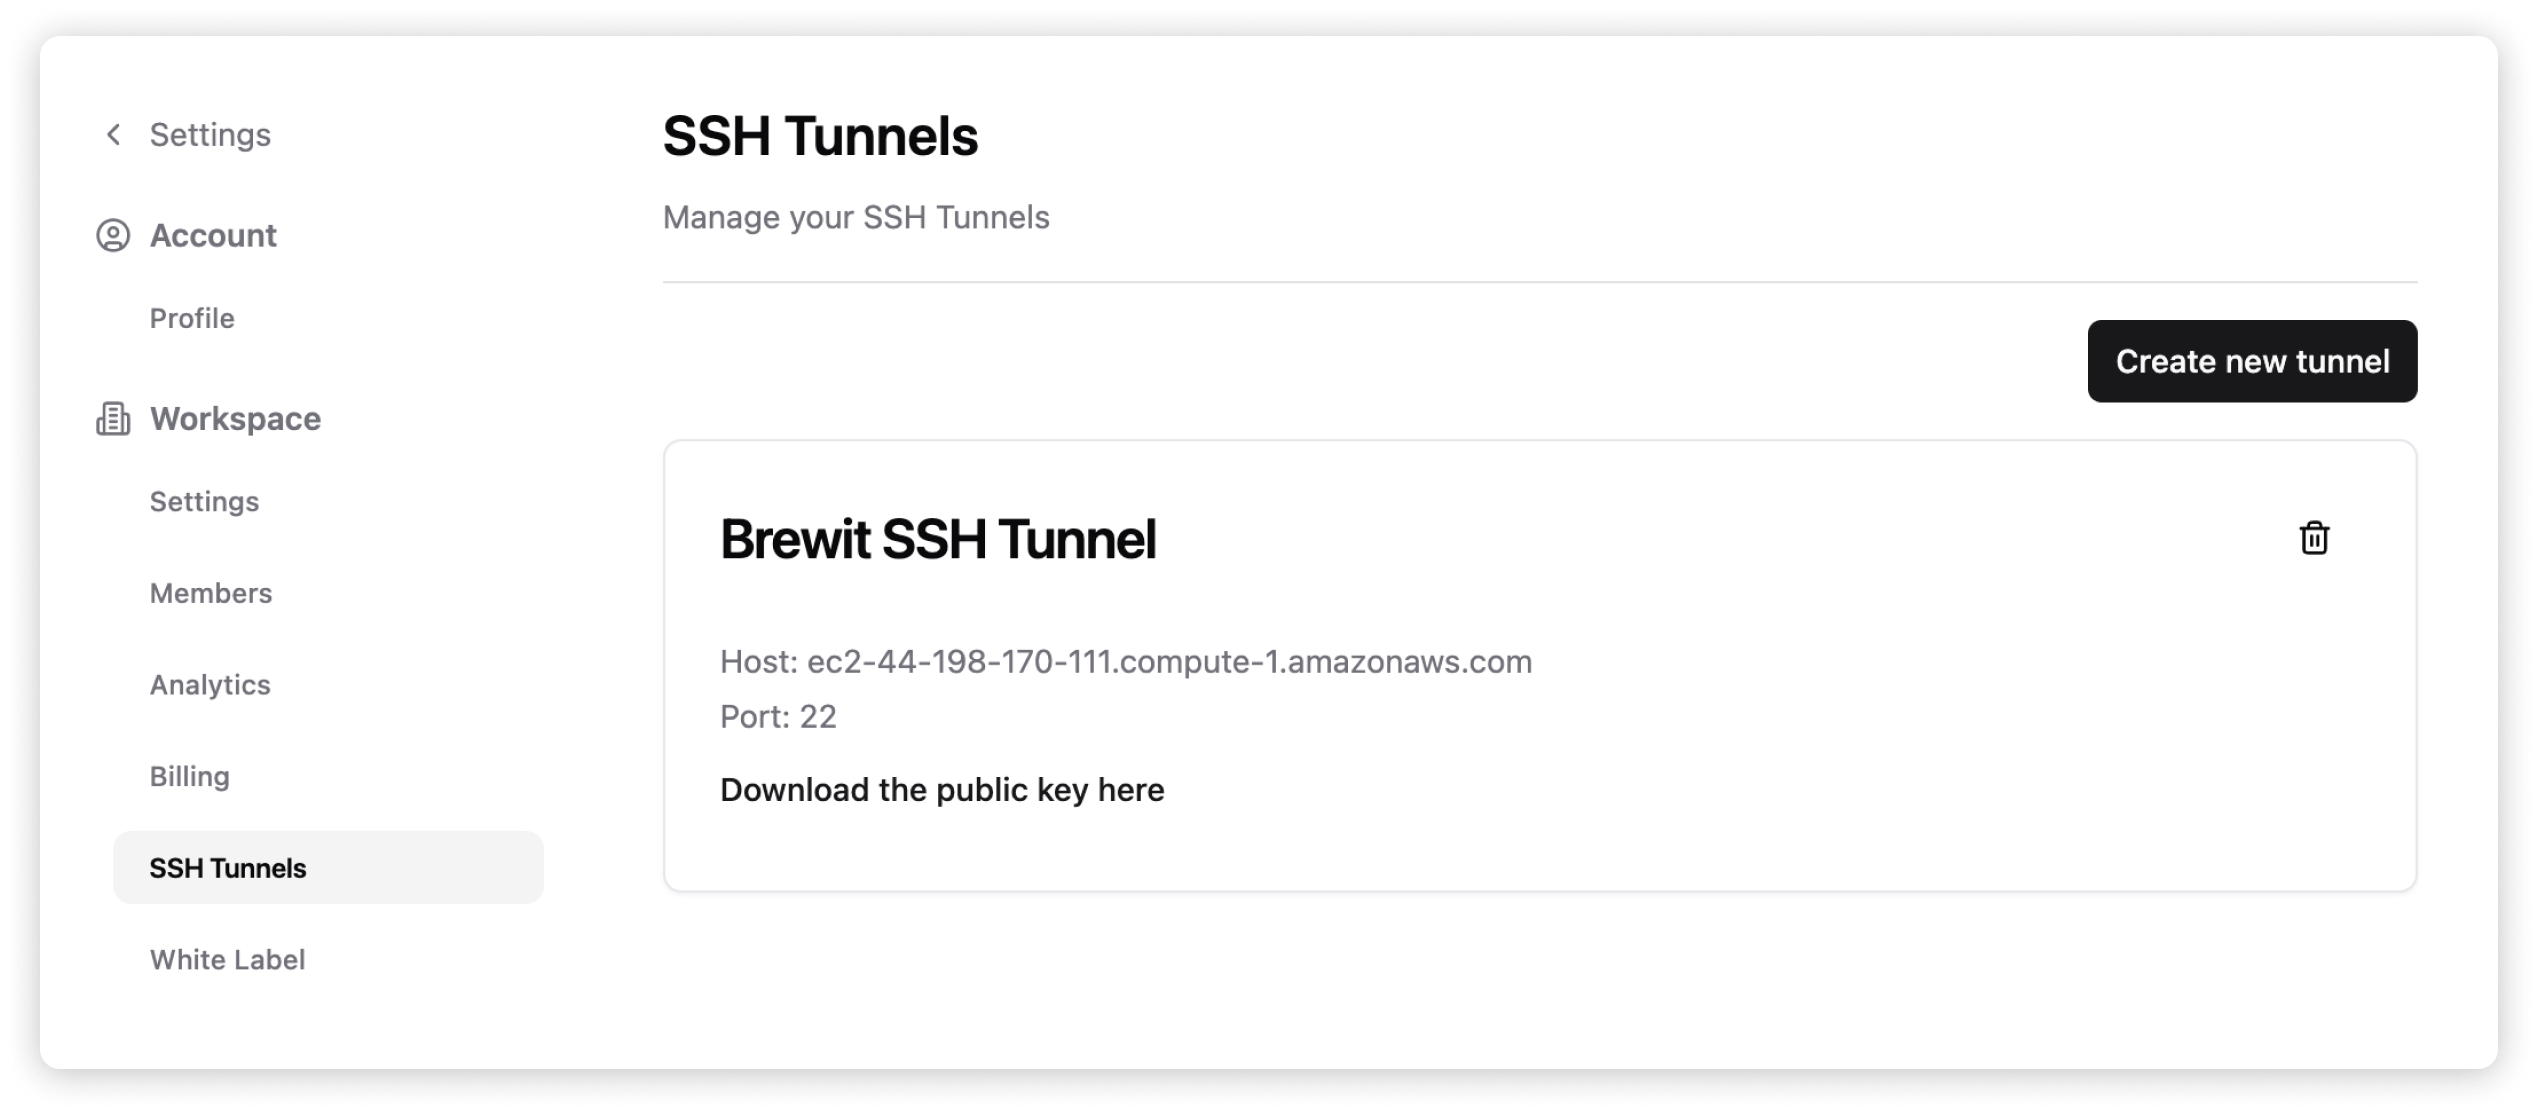
Add public key to your host
Create a user account for Brewit. Below is a sample script run for different environments.
To authorize Brewit to connect to the host, add the public keys from step two on a new line in /home/brewit/.ssh/authorized_keys.
Copy
# Login as rootsudo su# Create the authorized_keys file if it does not exist yetmkdir -p /home/brewit/.sshtouch /home/brewit/.ssh/authorized_keys# Use your favorite editor to add Brewit's public key to the filevim /home/brewit/.ssh/authorized_keys# Set permissions on the authorized_keys filechmod 644 /home/brewit/.ssh/authorized_keys# Change owner of authorized_keys file to Brewitchown brewit:brewit /home/brewit/.ssh/authorized_keys
4
Test database connection
Once that has been successfully configured, you can now test the connection to your database.
If you have any issues with the SSH tunnel, please contact
mark@brewit.ai for support.